
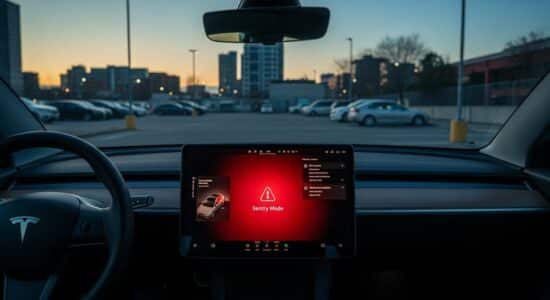
After several months of daily use of my Tesla, I can confirm that Sentry Mode has become an absolute essential for me. This surveillance system literally transforms your vehicle into a true mobile fortress, using its cameras to monitor everything happening around it when parked.
Whether you park in an underground parking lot, in the city center, or even in front of your home, this system provides you with incomparable peace of mind. I personally experienced a situation where Sentry Mode allowed me to identify the perpetrator of a scratch on my front fender – without it, I would have been completely helpless.
In this article, I will guide you step-by-step to enable and configure Sentry Mode optimally, show you how to manage video recordings, and share my best tips for maximum protection of your vehicle.
What is Sentry Mode and how does it work?
The principle of intelligent surveillance
Sentry Mode utilizes the Tesla’s external cameras (up to eight depending on the model) to create a 360-degree surveillance bubble around the vehicle. It’s much more than a simple dashcam: it’s a truly intelligent security system.
Besoin d'accessoires pour ta Tesla ?
Looking for accessories for your Tesla?
The system operates on three progressive alert levels:
- Motion Detection: simple recording without alert (passing nearby)
- Proximity Alert: warning message on the Tesla screen (someone approaching too closely)
- Intrusion Attempt: audible alarm, push notification, and intensive recording (impact detected, handle activated)
Unlike Dashcam mode, which records continuously while driving, Sentry Mode only records when it detects suspicious activity, which optimizes storage space.
The energy consumption remains reasonable: about 1% battery per hour according to my personal observations. Over an 8-hour workday, you will therefore lose approximately 8% of range, an acceptable price for the protection offered.
Situations where Sentry Mode is essential
I systematically enable Sentry Mode in these situations:
- Parking in city centers or sparsely populated areas
- Underground parking lots and public garages
- Extended stops in unfamiliar places
- Demonstrations or events with large crowds
My most striking anecdote? One day, returning to my car after shopping, I found a fresh scratch on the fender. Thanks to the Sentry Mode recordings, I was able to identify the responsible vehicle (a cart pushed by the wind) and even the exact time of the incident. These video proofs significantly facilitated my insurance claim.
Enable Sentry Mode: step-by-step
Prerequisites before activation
First and foremost, you need to prepare the storage medium. The system requires a formatted USB drive or uses internal storage if your vehicle has it (recent models).
Here is the preparation procedure:
- Use a USB drive of at least 64 GB (I recommend 128 GB minimum)
- Format it to exFAT on your computer
- Create a folder named exactly “TeslaCam” at the root
- Insert the drive into the USB port located at the front of the vehicle (center console)
A small camera-shaped icon will appear on the touchscreen when the system correctly recognizes the USB drive. If you see a red dot on this icon, it means recording is active.
Activation procedure
Enabling Sentry Mode is incredibly simple:
Method 1 – Via settings:
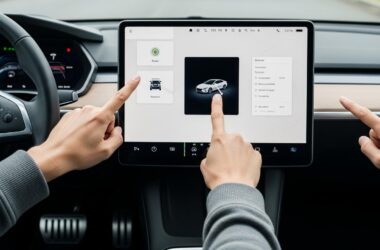
- Touch the Controls icon at the bottom of the screen
- Select Safety
- Enable the Sentry Mode button
Method 2 – Quick activation:
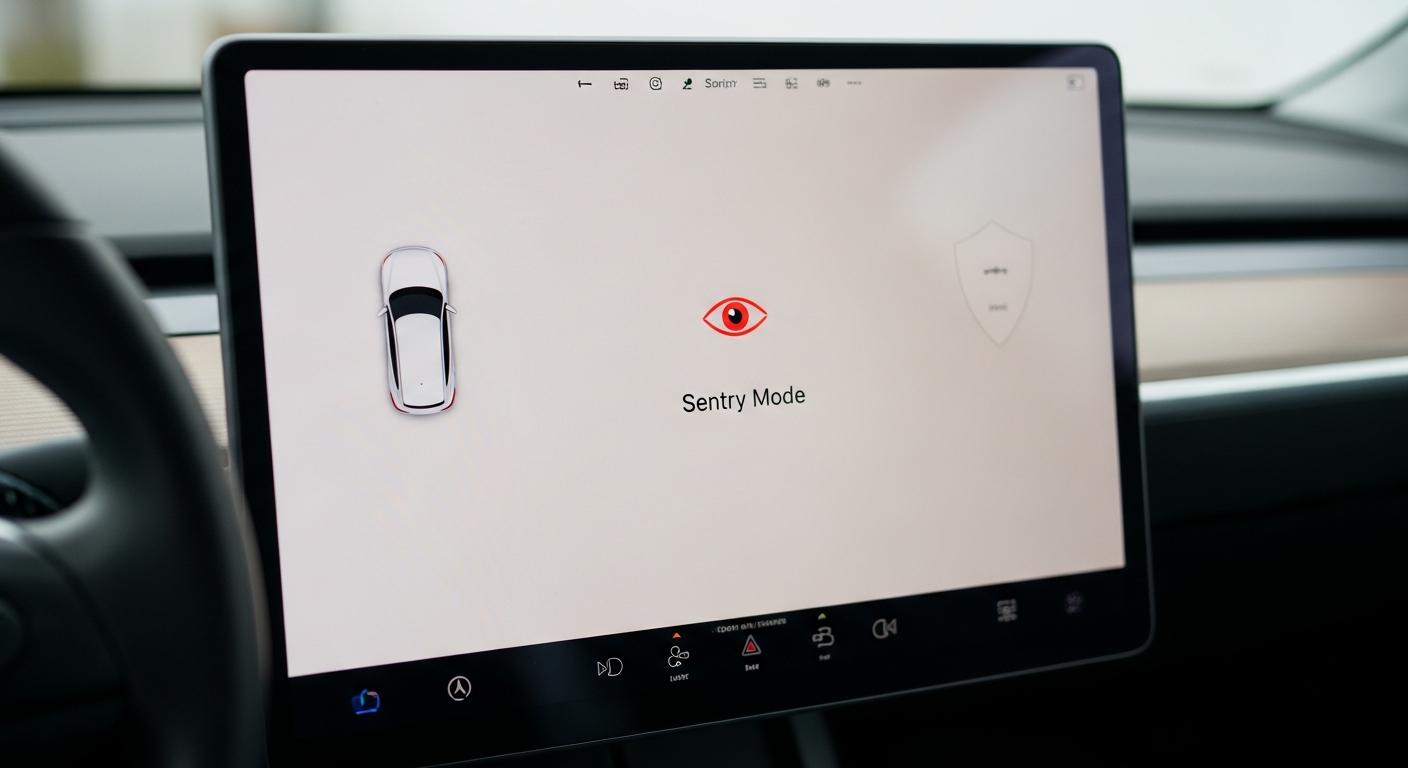
Simply touch the shield-shaped icon in the top bar of the screen. A single tap is enough to enable or disable the function.
To verify that the system is active, observe these indicators: the screen displays “Sentry Mode Activated” and a red indicator light flashes on the dashboard (visible from the outside, deterrent effect).
Besoin d'accessoires pour ta Tesla ?
Looking for accessories for your Tesla?
Configure advanced settings for optimal protection
Customize location exclusions
Here is one of the features I appreciate the most: the ability to exclude certain locations from automatic surveillance. Why? To preserve your battery when you are parked in a safe environment.
To configure these exclusions:
- Go to Controls > Safety
- Select “Exclude”
- Add your home, workplace, or any trusted location
My personal advice: I only exclude my personal garage. Everywhere else, even at friends’ houses or the office, I keep Sentry Mode active. You can never be too careful, and battery consumption remains manageable.
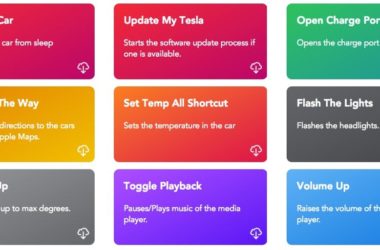
You can also create custom shortcuts to quickly enable Sentry Mode according to your daily habits, which makes usage even smoother.
Manage notifications and alerts
The Tesla app on your smartphone allows you to receive real-time push alerts when an event is detected. To enable this function:
- Open the Tesla app
- Go to Settings > Notifications
- Enable “Security Alarm”
When you receive an alert, you can remotely view live cameras (depending on your Premium connectivity) and see what’s happening around your vehicle. I have used this function several times from a restaurant, reassured to find that the alert was simply triggered by a curious cat.
View and manage video recordings
Access Sentry Mode videos
Recordings are methodically organized on your USB drive. In the TeslaCam folder, you will find two subfolders:
- SavedClips: videos recorded manually or by Sentry Mode
- SentryClips: events automatically detected by the system
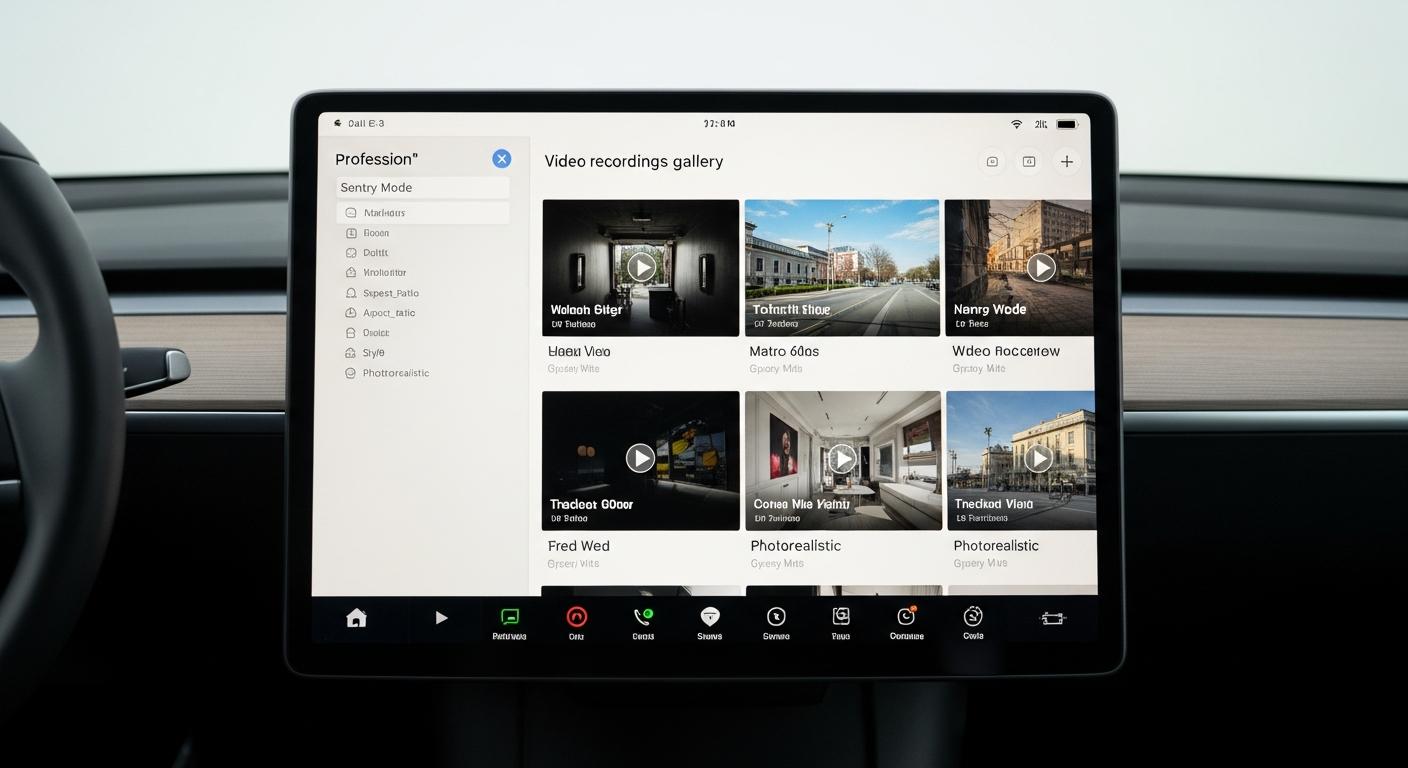
To view directly on the Tesla screen, touch the camera icon then select the Sentry tab. You can browse all recorded events with their precise timestamp.
To retrieve videos on a computer, simply remove the USB drive and copy the files you are interested in. Each event generates four simultaneous video files (front, rear, and side cameras), which gives you a complete view of the situation.
Optimize storage and avoid saturation
I quickly learned that a 32 GB drive fills up very quickly. I now recommend a minimum of 128 GB, ideally 256 GB for several weeks of autonomy without intervention.
The system automatically overwrites the oldest videos when space is low, but I prefer to manage it manually. Here is my routine:
- Each week, I quickly review the recorded events
- I delete false alerts (90% of the content)
- I save truly important videos to my computer
My tip: prioritize a portable USB SSD rather than a simple USB drive. It’s more reliable in the long term, especially with temperature variations in the cabin.
Practical tips and feedback
Maximize system efficiency
After months of intensive use, I have developed some strategies to optimize the balance between protection and battery consumption:
- Strategically position your vehicle to maximize camera coverage (avoid parking too close to a wall on the passenger side)
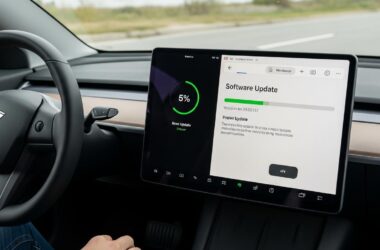
- Keep your software updated: Tesla regularly improves detection algorithms
- Combine Sentry Mode with the PIN to Drive feature for enhanced safety
- Disable passive Bluetooth if you park for a long time in a public place
Sentry Mode perfectly complements physical measures to preserve your bodywork, thus creating both electronic and physical protection for your investment.
What I learned after months of use
Let’s be honest: the system generates many false alerts. The most common triggers I have identified:
- Supermarket carts pushed by the wind
- Curious cats and birds
- People simply passing by
- Tree branches in windy weather
But these minor inconveniences are largely compensated by peace of mind. I have documented three real situations where the system was truly useful to me: a nighttime break-in attempt (abandoned due to the alert), a parking lot collision (driver identified), and a door scratch (cart identified as responsible).
Limitations to be aware of: night video quality is not exceptional in total darkness, and some blind spots remain. For more details on the available surveillance features, you will find additional information in the technical documentation.
Ultimately, Tesla Sentry Mode represents much more than a simple safety feature for me: it’s a true digital guardian that protects my investment 24/7. Activation is simple, configuration is flexible, and managing recordings quickly becomes a routine.
My ultimate advice? Enable it by default everywhere, except in places you deem truly safe. The small impact on range is largely compensated by the protection offered and the peace of mind it provides. Do you already use Sentry Mode? Feel free to share your own experiences and tips in the comments!
Profitez d'avantages exclusifs en achetant votre Tesla
Vous envisagez d'acquérir une Tesla ? En utilisant mon code de parrainage lors de votre achat, vous pouvez bénéficier d'avantages exceptionnels !
Des kilomètres gratuits de recharge ou d'autres récompenses exclusives, mon code de parrainage est votre passeport pour des avantages supplémentaires : https://ts.la/antoine49352 🤩
Pas de pression, juste une opportunité à saisir pour enrichir votre expérience Tesla.
Découvrez ici le système du parrainage et comment utiliser le code.
Get exclusive perks when buying your Tesla
Thinking about getting a Tesla? If you use my referral code when you purchase, you may be eligible for extra perks.
Free Supercharging miles or other exclusive rewards - my referral code can unlock additional benefits: https://ts.la/antoine49352 🤩
No pressure - just a simple option if you want to enhance your Tesla experience.
Learn how the Tesla referral program works and how to use the code.